
Garlic Parmesan Cheeseburger Bombs

Flaky biscuit pockets filled with garlicky ground beef, Parmesan and cheddar — baked until golden for an irresistible appetizer or snack.

This recipe arrived in my kitchen the way the best comfort foods do: as a quick experiment on a busy weeknight that turned into a permanent fixture. I was craving something handheld and hearty after a late grocery run, and with a can of biscuit dough, ground beef, a couple of cheeses and garlic on hand I assembled these little golden parcels. The result was immediate — warm, flaky biscuit surrounding a rich, garlicky cheeseburger filling that tasted like a miniature, perfectly balanced comfort meal. My family called them "bombs" because one bite releases hot, melty cheese and savory beef that explodes across the palate.
I first made these on a damp Saturday evening while watching my nephew practice soccer drills in the yard. They were ready in under 30 minutes and disappeared faster than I could plate them. The texture — flaky, butter-brushed biscuit outside with a soulful, slightly chewy inside studded with Parmesan — is what sells it. The inclusion of both Parmesan and cheddar gives depth: Parmesan brings a nutty saltiness that lifts the beef, while cheddar provides melting richness. These are an easy party snack, a casual weeknight main for a hungry household, or a portable game-day star.
Why You'll Love This Recipe
- Ready in about 30 minutes from start to finish — perfect for busy evenings or last-minute guests.
- Uses pantry staples and one common refrigerated item (canned biscuit dough) so you rarely need a special trip to the store.
- Handheld and portable: great for parties, tailgates, lunchboxes or casual family dinners.
- Make-ahead friendly — you can assemble and refrigerate for a few hours or freeze before baking for longer storage.
- Customizable cheeses and seasoning let you adapt the flavor for kids or more adventurous palates.
- Yields eight satisfying portions; easy to scale up for a crowd.
When I tested this version, swapping in a higher-fat beef for more flavor and adding an extra clove of garlic made the filling sing. My niece insisted on adding a tiny pickle slice to hers — and it became her signature twist. Over the years these bombs have become my default "bring-to-a-party" recipe because they travel well and please a crowd.
Ingredients
- Ground beef (1 pound): I recommend 80/20 for flavor and juiciness. It browns quickly and keeps the filling moist. If you prefer leaner meat, choose 85/15 but add a teaspoon of olive oil while browning to prevent dryness.
- Garlic (2 cloves, minced): Fresh garlic gives a bright, aromatic lift. Mince finely so it disperses through the beef; avoid garlic powder here — the fresh bite complements the cheeses better.
- Parmesan (1/2 cup): Use freshly grated Parmigiano-Reggiano if possible for nutty, salty depth. Pre-grated works in a pinch but has less texture.
- Cheddar (1 cup, cubed or shredded): Sharp cheddar melts well and contributes creamy tang. Cubes will give glorious molten pockets inside each bomb.
- Biscuit dough (1 can, 16.3 ounces): Canned biscuits speed preparation and provide a reliably flaky exterior. Brands vary; choose a flaky, buttery style if available.
- Butter (2 tablespoons, melted): Brushing the tops creates a golden finish and adds buttery flavor — salted or unsalted both work.
- Parsley (1 tablespoon, chopped): Fresh parsley brightens the finished bombs and adds color. Flat-leaf parsley is my preference.
Instructions
Step 1: Preheat and prepare: Heat the oven to 375°F (190°C). Line a baking sheet with parchment or a silicone mat to prevent sticking and to promote even browning. Set a small bowl with the melted butter nearby for brushing. Step 2: Brown the beef with garlic: In a medium skillet set over medium-high heat, add the ground beef and cook until it begins to brown, breaking it apart with a spatula. When the beef is nearly cooked, add the minced garlic and continue cooking for 30–60 seconds until fragrant. Drain excess fat in a fine-mesh strainer or by tilting the pan and blotting with a paper towel. The goal is savory, slightly crumbly beef that isn’t greasy. Step 3: Combine cheeses with beef: Return the drained beef to the skillet or a mixing bowl, stir in the Parmesan and cheddar so the residual heat starts to soften the cheese. Taste and add a pinch of salt and freshly ground black pepper if needed. Allow the mixture to cool for a few minutes—still warm but not scalding—so it won’t melt the biscuit dough when assembled. Step 4: Prepare biscuits: Open the biscuit can and separate the rounds. Flatten each biscuit with your palm or a rolling pin to a 4–5 inch circle, thin enough to fold over but not so thin it tears. Work on a lightly floured surface if the dough is sticky. Step 5: Fill and seal: Place about 2–3 tablespoons of the beef-cheese mixture in the center of each flattened biscuit, add a small extra cube or pinch of cheddar for an oozy center if desired. Fold the dough over, bring the edges together, and pinch tightly to seal. Turn each sealed pocket seam-side down and place on the prepared baking sheet. Ensure edges are fully sealed to prevent leaks. Step 6: Brush and bake: Brush each bomb with melted butter for color and richness. Bake in the preheated oven for 12–15 minutes, rotating the sheet halfway through if your oven browns unevenly, until the biscuits are deeply golden and puffed. Internal temperature of the filling should be hot and the cheese melted. Let cool 3–5 minutes before serving to avoid burning the mouth with molten cheese.
You Must Know
- These keep well refrigerated for up to 3 days — store in an airtight container and reheat at 350°F (175°C) for 8–10 minutes for best texture.
- They freeze beautifully: freeze unbaked bombs on a sheet until firm, then transfer to a freezer bag for up to 3 months. Bake from frozen, adding 6–8 minutes to the baking time.
- High in protein and fat due to beef and cheeses; portion accordingly if watching calories.
- Not suitable for gluten-free or dairy-free diets without substitutions — see ingredient swaps below.
My favorite thing about these bombs is how flexible they are: once you master the sealing technique they become a platform for endless riffs — bacon bits, pickled jalapeño, or a slather of burger sauce after baking. The first time I served them at a neighborhood potluck, every neighbor asked for the recipe and the platter returned empty within 15 minutes.

Storage Tips
Allow bombs to cool completely before refrigerating to avoid condensation that softens the biscuit. Store in a shallow airtight container with a paper towel layer to absorb excess moisture; they will keep well for up to 3 days. For longer storage, freeze unbaked bombs on a tray until solid, then transfer to a freezer-safe bag. To reheat refrigerated bombs, preheat oven to 350°F and warm for 8–10 minutes until heated through. Reheating in a microwave will heat faster but can make the biscuit soggy; use the oven for best texture.
Ingredient Substitutions
If you need a gluten-free option, use a packaged gluten-free biscuit dough or make small rounds from a gluten-free biscuit recipe and follow the same assembly. For dairy-free, swap cheeses for plant-based alternatives that melt well and use dairy-free butter for brushing. Lean ground turkey or a plant-based crumbled protein can replace beef — increase seasoning slightly (add a teaspoon of Worcestershire or soy sauce) to boost umami. If you prefer more herbs, fold 1 teaspoon Italian seasoning into the beef mixture.
Serving Suggestions
Serve warm with small bowls of ketchup, mustard, or a quick burger sauce (mayonnaise, ketchup, a dash of pickle juice and smoked paprika). A simple side salad or coleslaw keeps the meal balanced, while pickled vegetables or sliced pickles add a bright contrast. For parties arrange bombs on a platter with toothpicks and garnish with chopped parsley and a sprinkle of extra Parmesan.
Cultural Background
These handheld bites are a modern American riff on stuffed dough traditions found around the world — think empanadas, piroshki and panzerotti — adapted to the convenience of canned biscuit dough and classic cheeseburger flavors. They reflect the American love of portability and mash-ups: combining a beloved sandwich profile with the ease of a pastry turnover. Their popularity at potlucks and tailgates ties into communal eating and casual social gatherings.
Seasonal Adaptations
In summer, add finely chopped grilled peppers and onions to the beef for a charred sweetness. In winter, fold in sautéed mushrooms and swap cheddar for smoked gouda for a cozy, smoky flavor. Holiday versions might include a drizzle of cranberry mustard or a sliver of caramelized onion for a slightly sweeter counterpoint to the salty cheese.
Meal Prep Tips
For efficient meal prep, brown the beef and mix with cheeses ahead of time, store chilled for up to 48 hours, and assemble bombs the day you plan to bake. Alternatively freeze assembled bombs for a grab-and-bake solution on busy nights. Use a silicone-lined baking sheet to keep cleanup simple and bake two sheets in sequence if serving a crowd.
These Garlic Parmesan Cheeseburger Bombs bring together speed, flavor and a little nostalgia for the ultimate handheld comfort. Try them once and you'll find a thousand small ways to customize — that's the joy of this recipe. Share with friends, make extra, and enjoy the simple pleasure of something warm, cheesy and perfectly flaky.
Pro Tips
Allow the beef-cheese mixture to cool slightly before filling to prevent the biscuit dough from becoming too soft or tearing.
Seal edges tightly by pinching and turning the seam side down on the baking sheet to reduce leaks and keep shape.
Brush with melted butter for a golden finish; add a pinch of garlic powder to the butter for an extra flavor boost.
If biscuits are sticky while flattening, dust your surface lightly with flour and use a rolling pin to get an even thickness.
This nourishing garlic parmesan cheeseburger bombs recipe is sure to be a staple in your kitchen. Enjoy every moist, high protein slice — it is perfect for breakfast or as a wholesome snack any time.
FAQs about Recipes
Can I freeze these before baking?
Yes — assemble the bombs and freeze them on a baking sheet until solid, then transfer to a freezer bag. Bake from frozen and add 6–8 minutes to the baking time.
How long do leftovers last?
They keep well refrigerated for up to 3 days in an airtight container. Reheat in a 350°F oven for 8–10 minutes.
Tags
Garlic Parmesan Cheeseburger Bombs
This Garlic Parmesan Cheeseburger Bombs recipe makes perfectly juicy, tender, and flavorful steak every time! Serve with potatoes and a side salad for an unforgettable dinner in under 30 minutes.
Instructions
Preheat and prepare
Preheat oven to 375°F (190°C). Line a baking sheet with parchment or a silicone mat and set out melted butter for brushing.
Brown the ground beef
Cook ground beef in a skillet over medium-high heat until mostly browned. Add minced garlic near the end and cook until fragrant, about 30–60 seconds. Drain excess fat.
Mix in the cheeses
Return beef to the pan or a bowl, stir in Parmesan and cheddar so the heat begins to soften the cheese. Season to taste with salt and pepper if needed. Let cool slightly.
Flatten biscuits
Open the biscuit can and flatten each round to a 4–5 inch circle on a lightly floured surface so it is thin enough to fold without tearing.
Fill and seal the bombs
Place 2–3 tablespoons of filling in the center of each flattened biscuit, add an extra cube of cheddar if desired, fold the dough over, pinch edges tightly and place seam-side down on the baking sheet.
Brush and bake
Brush each pocket with melted butter, bake 12–15 minutes until golden and puffed. Let cool 3–5 minutes before serving to avoid very hot cheese.
Last Step: Please leave a rating and comment letting us know how you liked this recipe! This helps our business to thrive and continue providing free, high-quality recipes for you.
Nutrition
Did You Make This?
Leave a comment & rating below or tag
@kitchenfunwithmy3sons on social media!
Categories:
You might also like...
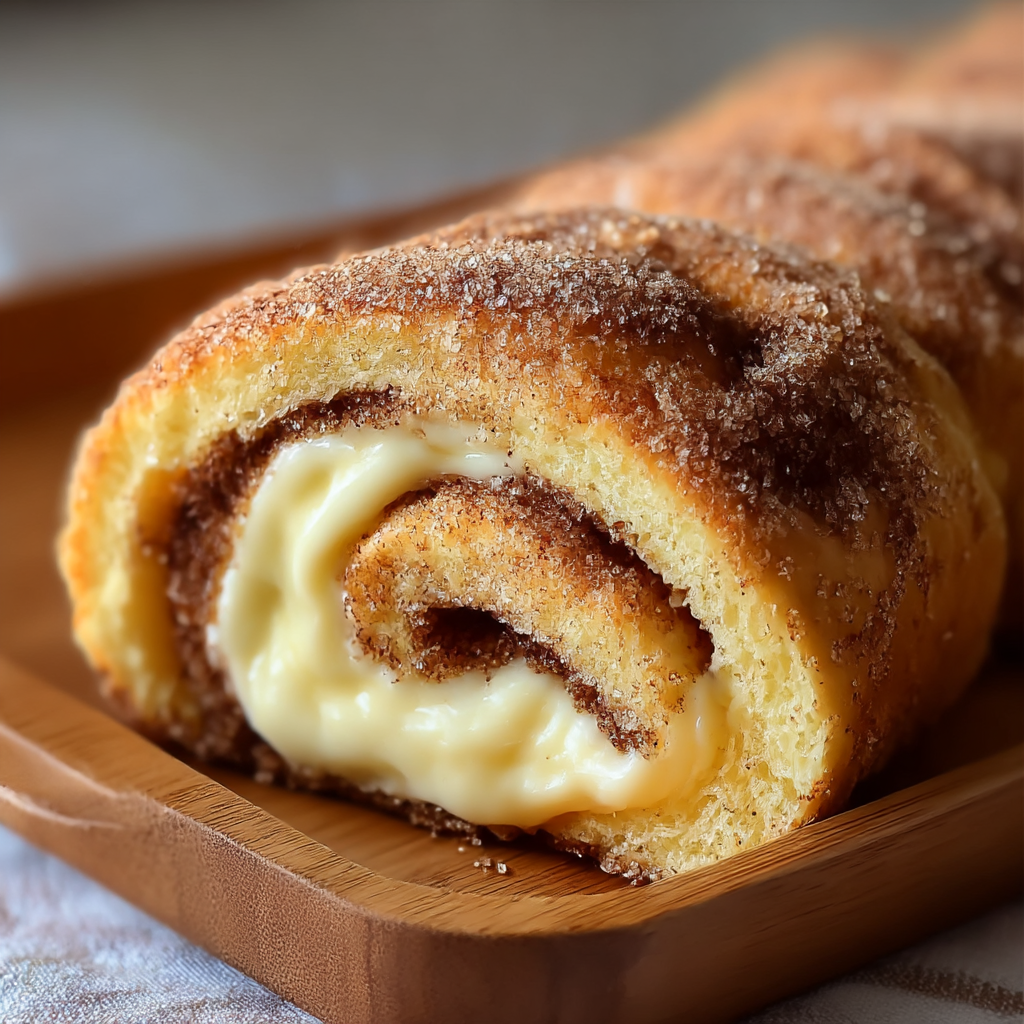
Cinnamon Sugar Cream Cheese Rolls
Buttery pastry envelopes a sweet, creamy cinnamon filling for an irresistible warm dessert or snack—ready in just 30 minutes.

Pineapple Chicken Rice
A bright, one-skillet meal that pairs sweet pineapple with savory chicken and fluffy jasmine rice for an easy, dairy-free weeknight dinner.
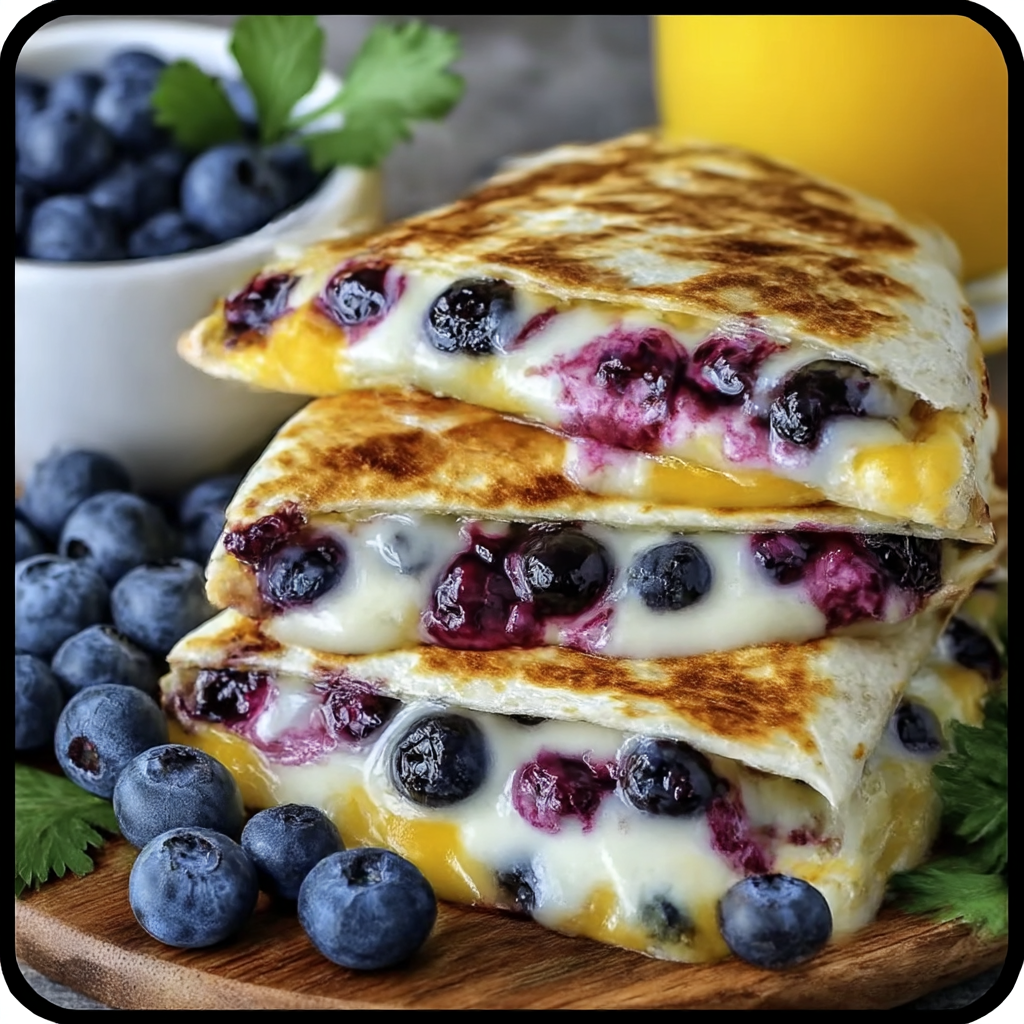
Blueberry Breakfast Quesadilla
Warm tortilla filled with creamy sweetened cream cheese, fresh blueberries and a drizzle of honey—an easy, satisfying morning treat ready in minutes.
Did You Make This?
Leave a comment & rating below or tag @kitchenfunwithmysons on social media!
Rate This Recipe
Share This Recipe
Enjoyed this recipe? Share it with friends and family, and don't forget to leave a review!
Comments (1)
This recipe looks amazing! Can't wait to try it.
Comments are stored locally in your browser. Server comments are displayed alongside your local comments.
Hi, I'm !
What's Popular

Get My 30-Minute Meals email series!
Quick and easy dinner ideas delivered to your inbox.