>>
30-MINUTE MEALS! Get the email series now →


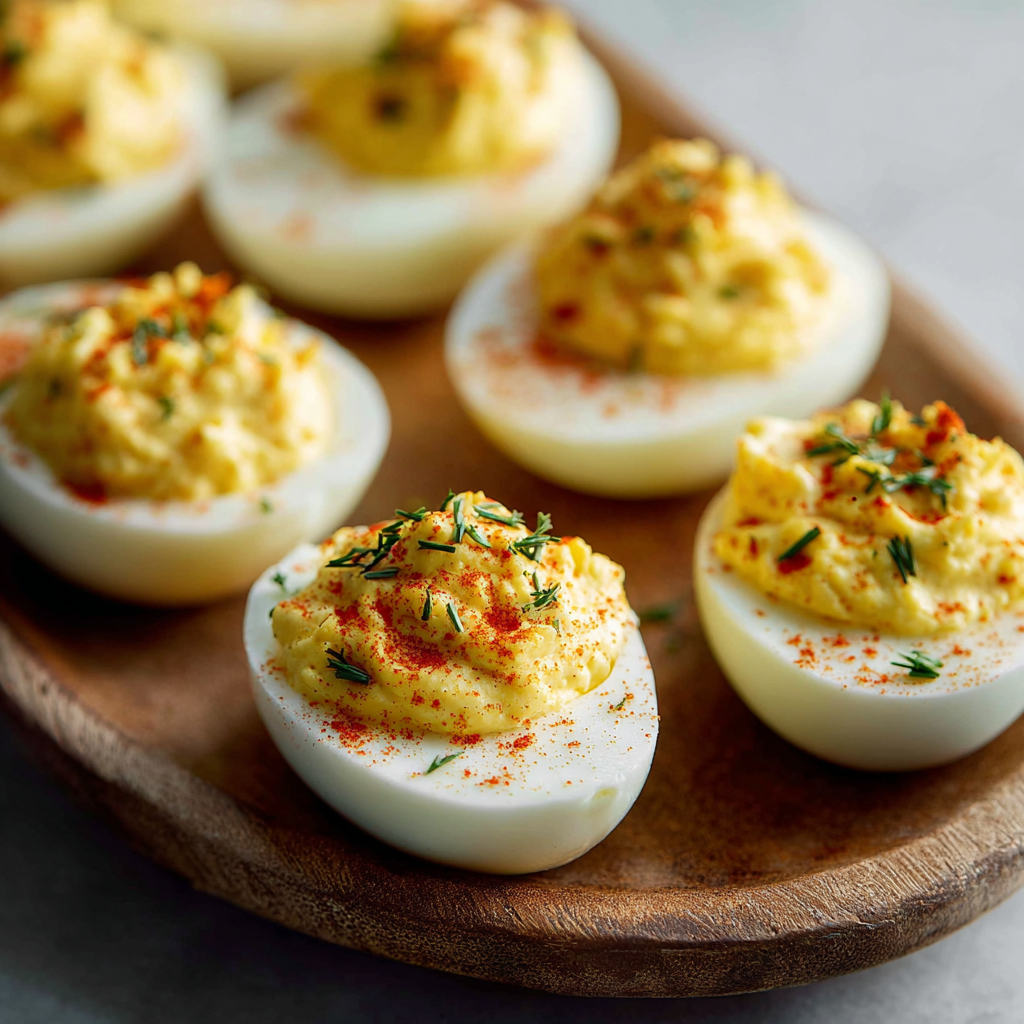
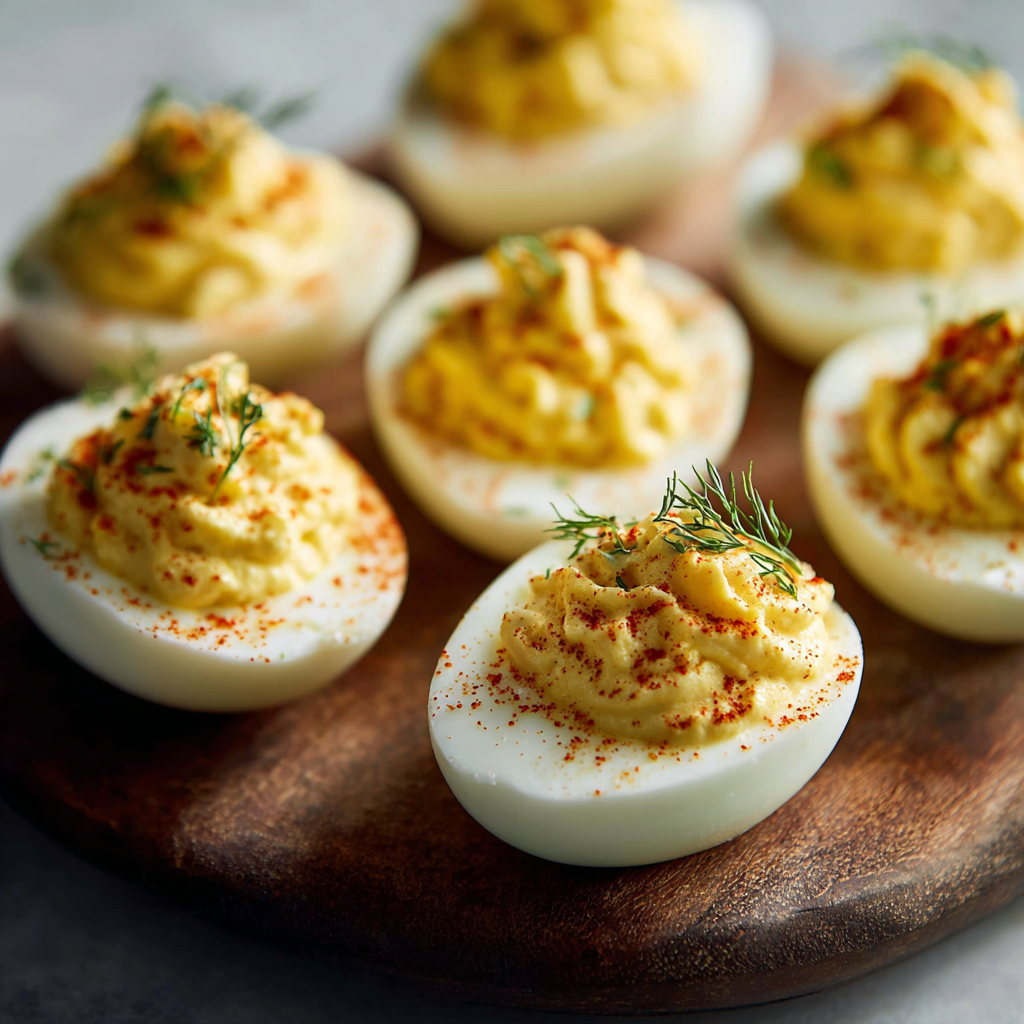
A timeless appetizer of creamy, tangy filling made with egg yolks, mayonnaise, pickle relish and mustard—simple, crowd-pleasing, and ready in 25 minutes.
This classic deviled eggs recipe has been a reliable favorite at family gatherings, potlucks, and weeknight dinners for as long as I can remember. I first learned this version from my grandmother, who always kept a jar of sweet pickle relish in the fridge for quick additions to salads and sandwiches. One chilly afternoon when guests arrived unexpectedly, she whipped up a tray of these in no time and everyone devoured them. The bright tang of pickle relish and the sharpness of Dijon balance the rich egg yolks and creamy mayonnaise, producing a bite that is at once comforting and lively.
What makes this preparation special is its simplicity and the little tricks that guarantee consistent results: a short, controlled boil for easy peeling, a splash of mustard for depth, and a pinch of paprika for color and aroma. I prefer using large eggs for reliable yolk volume and a fork to mash the filling for a rustic texture, but piping the mix into the whites looks elegant for entertaining. Over the years this recipe evolved with small, practical tweaks—baking a batch in the oven when my stovetop was full, or swapping half the mayo for Greek yogurt when I wanted to lighten the filling. No matter the slight variations, the heart of this dish—the creamy, tangy yolk center—remains unchanged.
Personally, these are the first thing guests reach for at any gathering. My brother always insists on extra paprika, while my daughter prefers them with a little extra relish. It’s small family traditions like these that make this simple recipe feel like a warm, familiar ritual every time I make it.
My favorite part is how quickly these disappear at gatherings. A few years ago I brought a double batch to a neighborhood barbecue and came home with an empty tray and new recipe requests. Little adjustments—extra relish for crunch or a smoky paprika for depth—produce entirely different personalities from the same basic mix.

Keep assembled deviled eggs chilled in a single layer in an airtight container or on a tray covered tightly with plastic wrap to prevent drying. For best texture, consume within 2 to 3 days; beyond that the filling may become watery as the mayo and pickle juices separate slightly. If you plan to transport, place the whites in a shallow container with a damp paper towel underneath and carry the filling separately; assemble on-site to maintain freshness and prevent shifting during travel.
If you prefer a lighter option, replace half of the mayonnaise with plain Greek yogurt for tang and fewer calories—this keeps the creamy texture but alters the flavor slightly. Swap Dijon for yellow mustard if you want a milder taste. For a more pronounced crunch, use finely diced dill pickles instead of relish at a 1:1 ratio. To make them spicy, stir in 1/4 to 1/2 teaspoon cayenne or a dash of hot sauce and taste as you go.
Serve on a chilled platter lined with lettuce leaves or microgreens to elevate presentation. Pair with crisp crudites, olives, or a simple green salad for a light starter. For a brunch spread, include smoked salmon, bagels, and a cheese board. Garnish ideas: thinly sliced chives, a light sprinkle of smoked paprika, or a small piece of crispy bacon for added texture and flavor contrast.
Stuffed eggs have a long culinary history, appearing in European cookbooks as far back as the 19th century. The modern American deviled egg—creamy, mustard-scented, and often topped with paprika—became especially popular in the mid-20th century as picnic and potluck culture grew. The term "deviled" historically refers to spicy or zesty seasonings added to fillings and has nothing to do with any religious connotations; it simply signals a bright, assertive flavor profile.
In spring, fold in fresh herbs like dill, chives, or tarragon for light, aromatic notes. Summer calls for pickles with more crunch and perhaps a smoky paprika to complement outdoor grilling. During colder months, add chopped cooked bacon or a teaspoon of horseradish for a warming kick. For holidays, pipe the filling decoratively and top with caviar or finely diced roasted red pepper to make the tray feel festive.
For make-ahead convenience, hard-boil and peel eggs a day in advance and refrigerate in a covered container with a damp paper towel to prevent drying. Prepare the filling up to 24 hours ahead and keep it chilled; stir gently before filling to refresh the texture. If transporting to an event, pack the whites and filling separately and assemble shortly before serving to keep the presentation neat and the filling intact.
Making this simple, classic deviled egg recipe is a small ritual that yields big returns: it brings people together around a familiar, comforting bite. Try the variations to make it your own, and enjoy the smiles that follow every time you set these on the table.
Add 1 teaspoon baking soda to the boiling water to raise pH and help shells slip off more easily.
Cool eggs in an ice bath immediately to stop cooking and make peeling easier while preventing a greenish yolk ring.
If transporting, carry whites and filling separately and assemble onsite for the best presentation.
This nourishing classic deviled eggs recipe is sure to be a staple in your kitchen. Enjoy every moist, high protein slice — it is perfect for breakfast or as a wholesome snack any time.
Hard-boil and peel the eggs first, then make the filling and assemble. Keep refrigerated and consume within 2 to 3 days.
For easiest peeling, add 1 teaspoon baking soda to boiling water and cool immediately in an ice bath.
This Classic Deviled Eggs recipe makes perfectly juicy, tender, and flavorful steak every time! Serve with potatoes and a side salad for an unforgettable dinner in under 30 minutes.
Place eggs in a saucepan and cover with cold water by 1 inch. Bring to a rolling boil, stir in 1 teaspoon baking soda, cover, remove from heat and let sit 12 minutes. Transfer to an ice bath to cool.
Crack shells and peel under running water to remove stubborn bits. Slice eggs lengthwise and transfer yolks to a bowl while arranging whites on a tray.
Mash yolks with mayonnaise, pickle relish, and Dijon mustard until smooth but slightly textured. Season with salt and pepper and adjust to taste.
Spoon or pipe filling into egg whites. Dust with paprika and garnish with chives or bacon if desired. Keep chilled until serving.
Last Step: Please leave a rating and comment letting us know how you liked this recipe! This helps our business to thrive and continue providing free, high-quality recipes for you.
Leave a comment & rating below or tag
@kitchenfunwithmy3sons on social media!

Buttery pastry envelopes a sweet, creamy cinnamon filling for an irresistible warm dessert or snack—ready in just 30 minutes.

A bright, one-skillet meal that pairs sweet pineapple with savory chicken and fluffy jasmine rice for an easy, dairy-free weeknight dinner.

Warm tortilla filled with creamy sweetened cream cheese, fresh blueberries and a drizzle of honey—an easy, satisfying morning treat ready in minutes.
Leave a comment & rating below or tag @kitchenfunwithmysons on social media!
Enjoyed this recipe? Share it with friends and family, and don't forget to leave a review!
This recipe looks amazing! Can't wait to try it.
Comments are stored locally in your browser. Server comments are displayed alongside your local comments.
Quick and easy dinner ideas delivered to your inbox.