>>
30-MINUTE MEALS! Get the email series now →


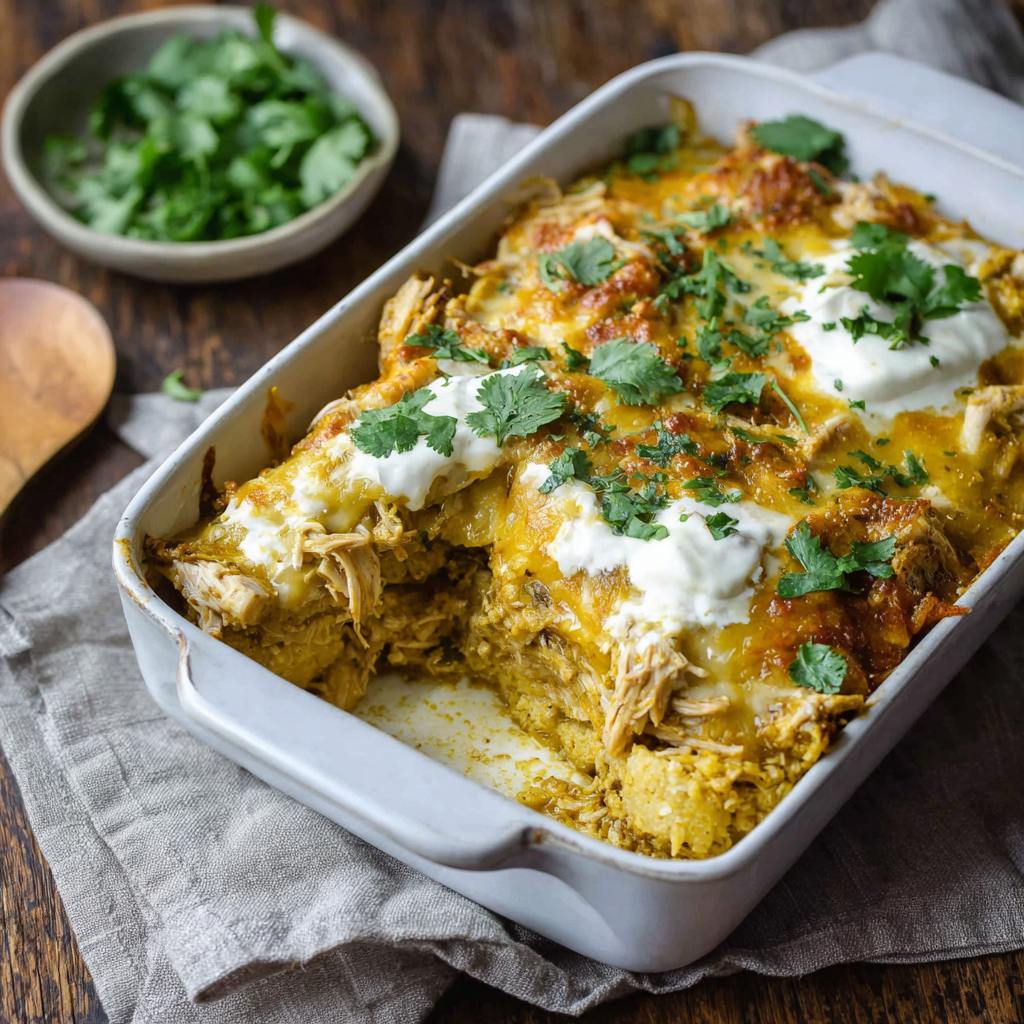
Experience the cozy, layered flavors of tamales without the fuss. This Chicken Tamale Casserole layers seasoned shredded chicken and a tender masa crust for a comfort-food favorite.
Personally, I remember bringing this casserole to a neighborhood potluck and watching it disappear in under an hour. My sister told me it tasted like an upgraded, less-labor-intensive version of the tamales her grandmother used to make, which is the highest compliment in our family. Often I double the shredded chicken portion so there are hearty leftovers for lunches the next day.
My favorite part of this recipe is how forgiving it is. The masa can be a touch looser or firmer and it still bakes into a lovely crust. Once, I accidentally used slightly more broth and the texture was softer and more tamale-like, which my kids adored. Each variation teaches something about moisture balance and how the masa responds to butter and liquid.
Store leftovers in an airtight container in the refrigerator for up to 3 days. For longer storage, cool completely, wrap tightly in plastic wrap and aluminum foil, or transfer to a freezer-safe container and freeze for up to 3 months. When reheating, thaw overnight in the refrigerator, then cover with foil and warm at 350 degrees Fahrenheit until heated through to prevent the masa from drying out. If you prefer single portions for lunches, slice before freezing and separate pieces with parchment so you can pull one out at a time.
If you cannot find masa harina, do not substitute with cornmeal—the texture and hydration are different. For dairy-free adaptations, swap butter with cold coconut shortening and replace monterey jack with a dairy-free melting cheese. Use cooked shredded turkey in place of chicken for a seasonal twist. If you want more heat, substitute part of the enchilada sauce with a medium green salsa or add pickled jalapeños to the filling. Reducing the butter slightly will firm the masa if you prefer a denser crust.
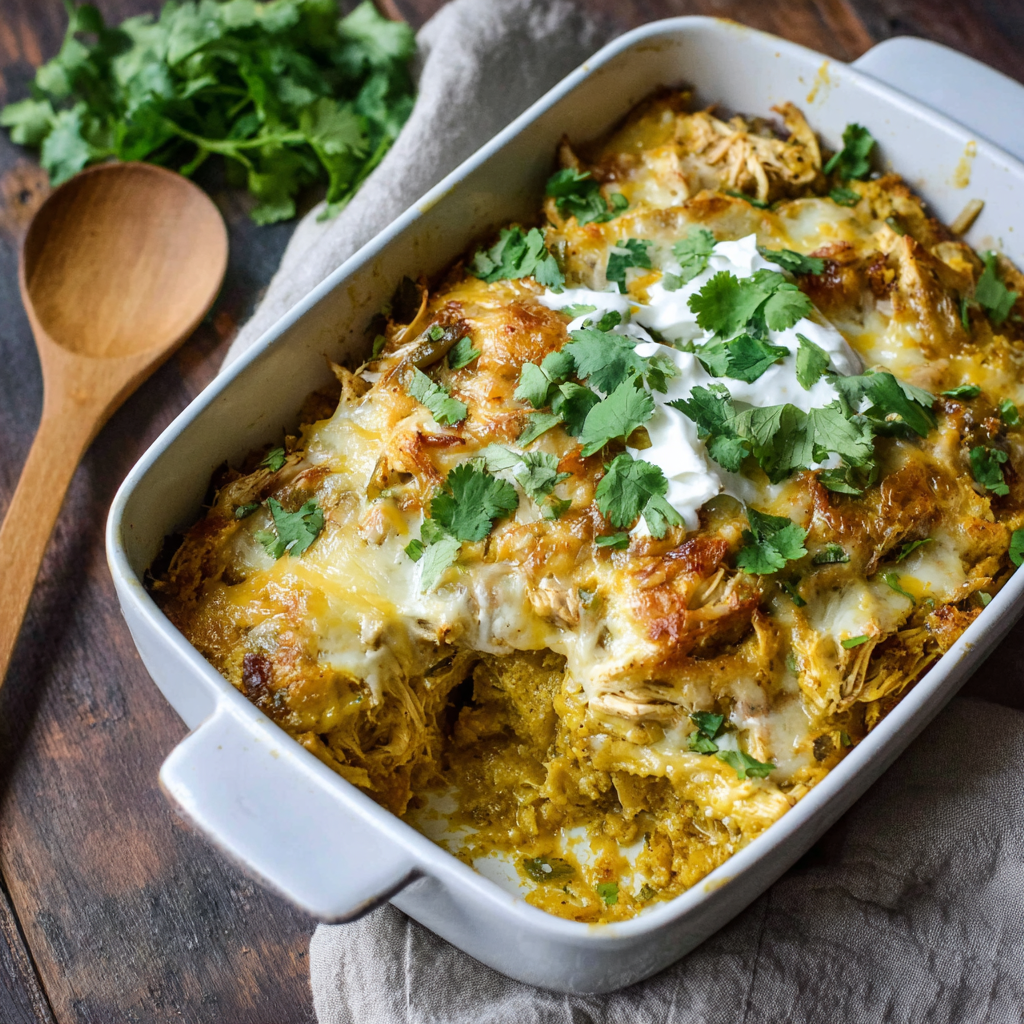
Serve slices with a dollop of crema or sour cream, fresh pico de gallo, and lime wedges for brightness. A side of black beans or refried beans and a simple cabbage slaw balances the richness. For a brunch variation, top slices with a fried egg and a sprinkle of cilantro. Pair the casserole with a light green salad dressed in lime vinaigrette to cut through the richness and add contrast in texture and flavor.
The layered concept draws inspiration from traditional tamales, a staple in Mexican and Southwest cuisines where masa is wrapped in corn husks and steamed with fillings. This pan-style adaptation respects those flavors—corn masa, chiles, and slow-simmered meat—but simplifies the technique for home cooks. Many regions have their own take on tamales, and casseroles like this one are common in family kitchens that prefer large-batch, shareable dishes for holiday tables and community gatherings.
In summer, add fresh roasted corn and charred poblanos for peak freshness; in fall, fold in roasted butternut squash for sweetness. For winter holidays, use leftover turkey and add warming spices like a pinch of ground cumin for depth. During spring, lighter accompaniments like citrusy slaws and quick-pickled onions refresh the plate and highlight bright chile verde notes.
To meal prep, make the shredded chicken and the masa separately. Store the warm chicken filling in an airtight container in the fridge and press the masa into parchment-lined pans. Assemble the day before baking and keep covered. This reduces bake-time on the day of serving and allows flavors to marry. For potlucks, bake ahead and transport in a warm carrier; reheat wrapped in foil at 325 degrees Fahrenheit for 20 minutes if needed.
This Chicken Tamale Casserole is one of those dishes that makes the house feel like home. Easy to scale, crowd-pleasing, and full of comforting flavors, it invites sharing and improvisation. Try it once and it will likely become a repeat on your rotating menu of favorites.
If the masa feels dry after processing, add broth 1 tablespoon at a time until it reaches a thick peanut-butter consistency.
Use cold, cubed butter to create a tender, slightly flaky masa top when pulsed with the dry ingredients.
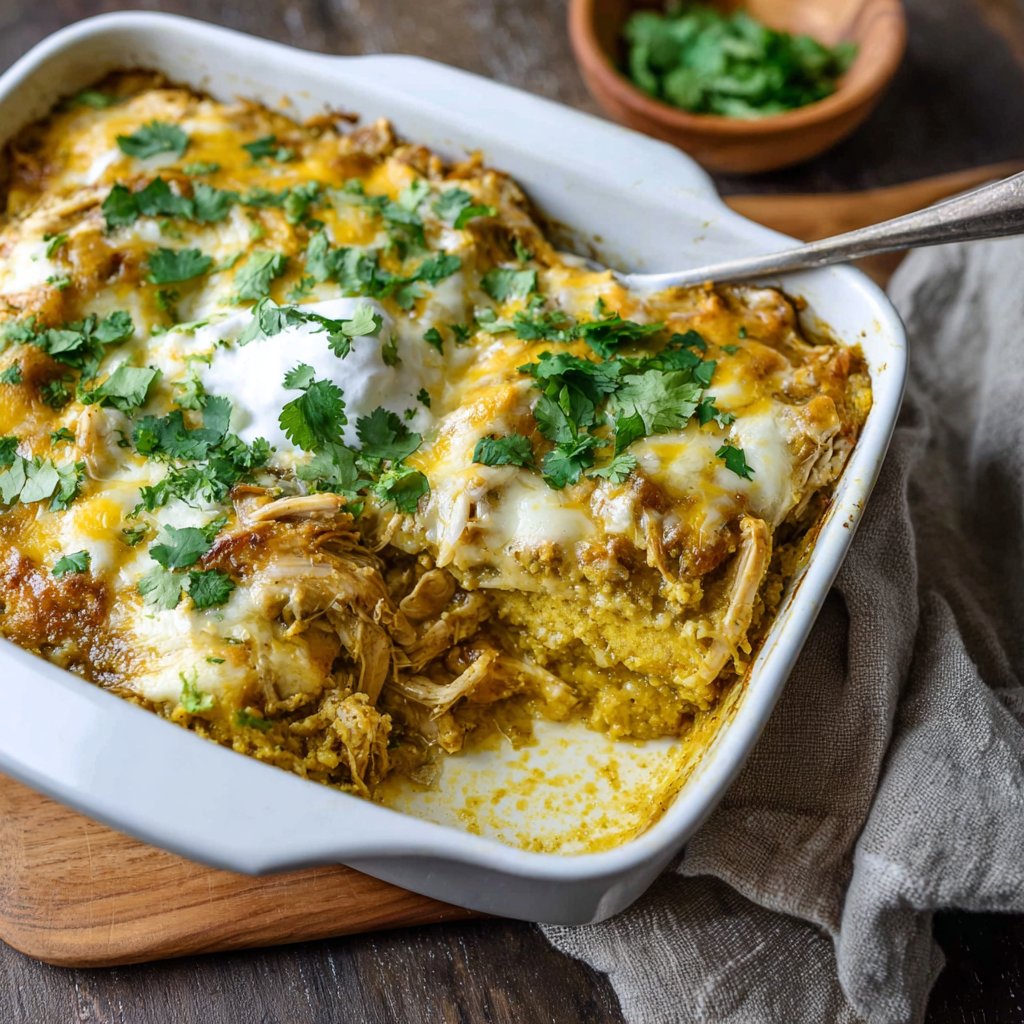
Allow the casserole to rest 10 minutes before slicing so the layers set and slices hold together.
This nourishing chicken tamale casserole recipe is sure to be a staple in your kitchen. Enjoy every moist, high protein slice — it is perfect for breakfast or as a wholesome snack any time.
Yes. Assemble and refrigerate for up to 24 hours before baking; bake straight from chilled but add 5 to 10 minutes to the covered bake time.
Thaw in the refrigerator overnight, then reheat covered at 350 degrees Fahrenheit until heated through, about 20 minutes.
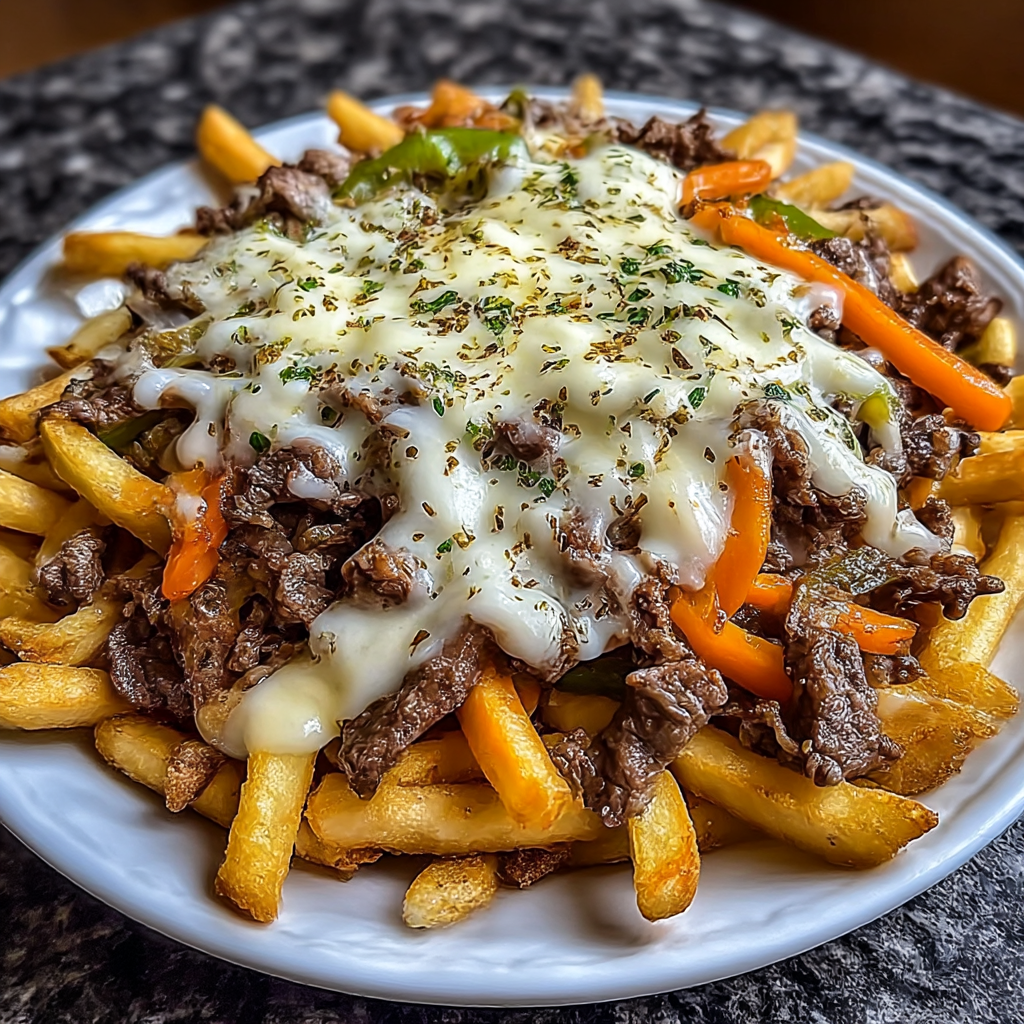
This Chicken Tamale Casserole recipe makes perfectly juicy, tender, and flavorful steak every time! Serve with potatoes and a side salad for an unforgettable dinner in under 30 minutes.
Preheat oven to 400 degrees Fahrenheit and lightly grease a 9 by 13-inch baking dish. This high initial heat helps set the top crust while the filling warms through.
In a large skillet over medium-low heat, combine shredded chicken, 1 cup chicken broth, 1 cup chile verde sauce, cilantro, and garlic powder. Heat until warmed through and aromatic, stirring occasionally.
Pulse masa harina, salt, sugar, baking powder, pepper, cold butter pieces, 2 cups corn, and roasted poblanos in a food processor until coarse. Add 2 1/4 cups chicken broth gradually until the dough reaches a thick peanut butter texture, then fold in remaining corn.
Press half the masa into the bottom of the prepared pan, add 3/4 cup cheese, spread the chicken mixture evenly, top with another 3/4 cup cheese, then press the remaining masa over the top.
Spread 1 cup chile verde sauce over the top, sprinkle with the remaining 1 1/2 cups cheese, cover with foil, bake 30 minutes, then uncover and bake an additional 10 minutes until cheese bubbles.
Allow the casserole to rest for about 10 minutes before slicing. Garnish with chopped cilantro and serve warm with desired sides.
Last Step: Please leave a rating and comment letting us know how you liked this recipe! This helps our business to thrive and continue providing free, high-quality recipes for you.
Leave a comment & rating below or tag
@kitchenfunwithmy3sons on social media!
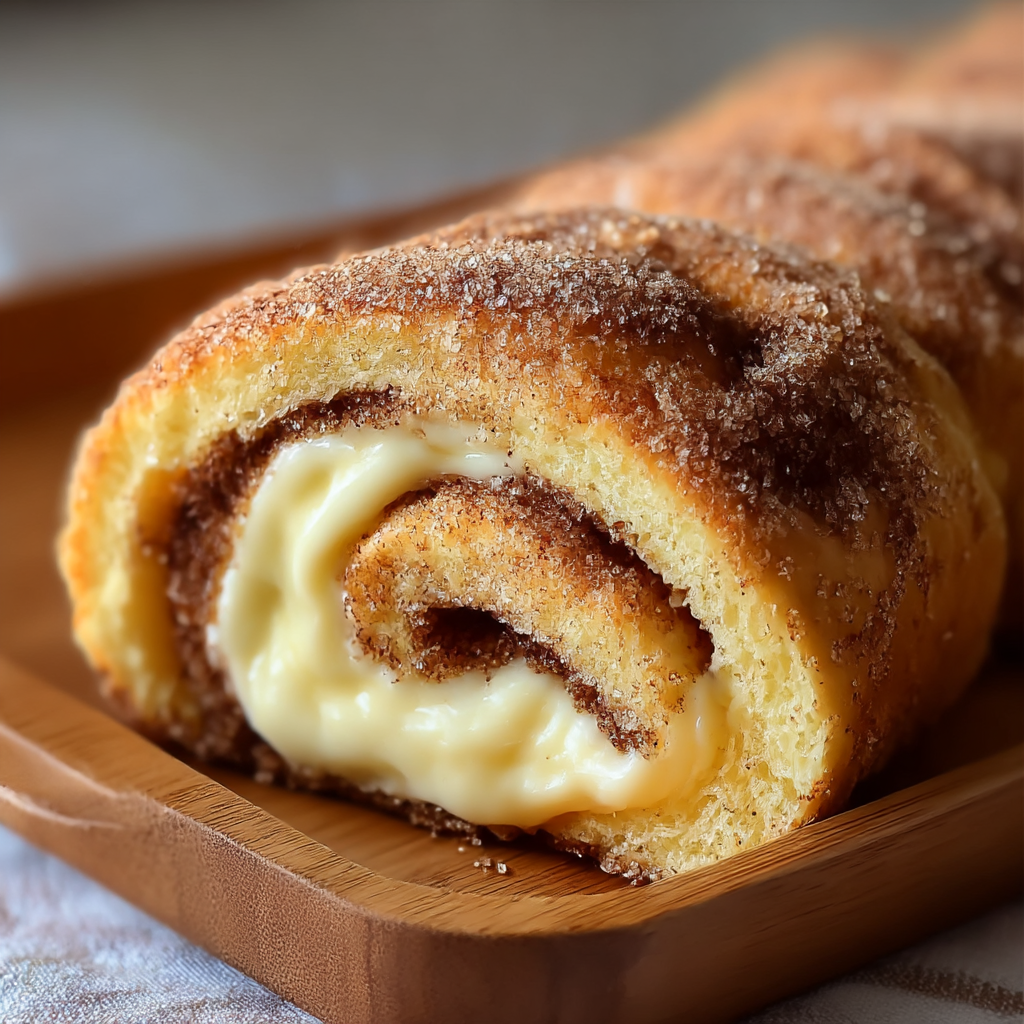
Buttery pastry envelopes a sweet, creamy cinnamon filling for an irresistible warm dessert or snack—ready in just 30 minutes.
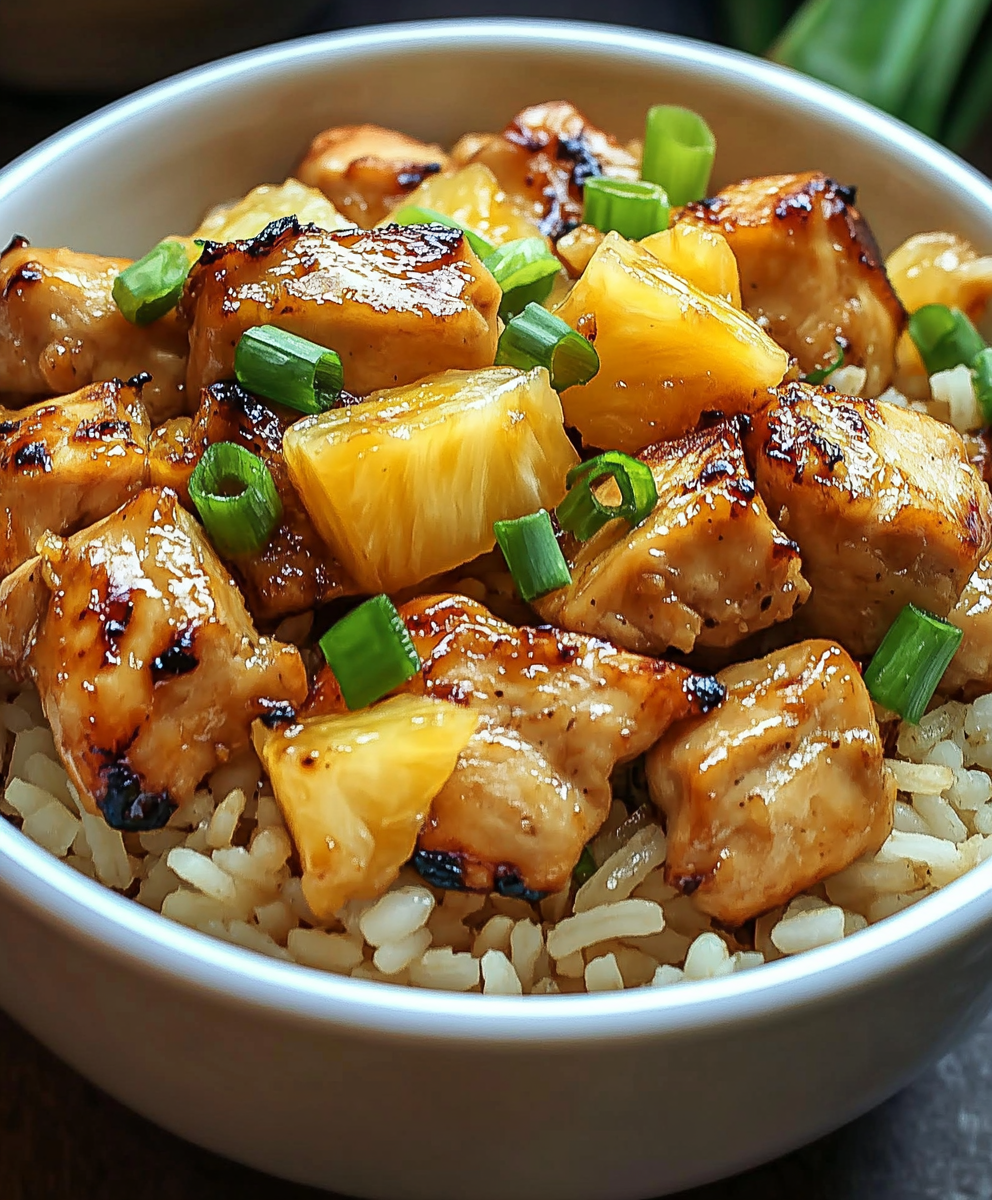
A bright, one-skillet meal that pairs sweet pineapple with savory chicken and fluffy jasmine rice for an easy, dairy-free weeknight dinner.
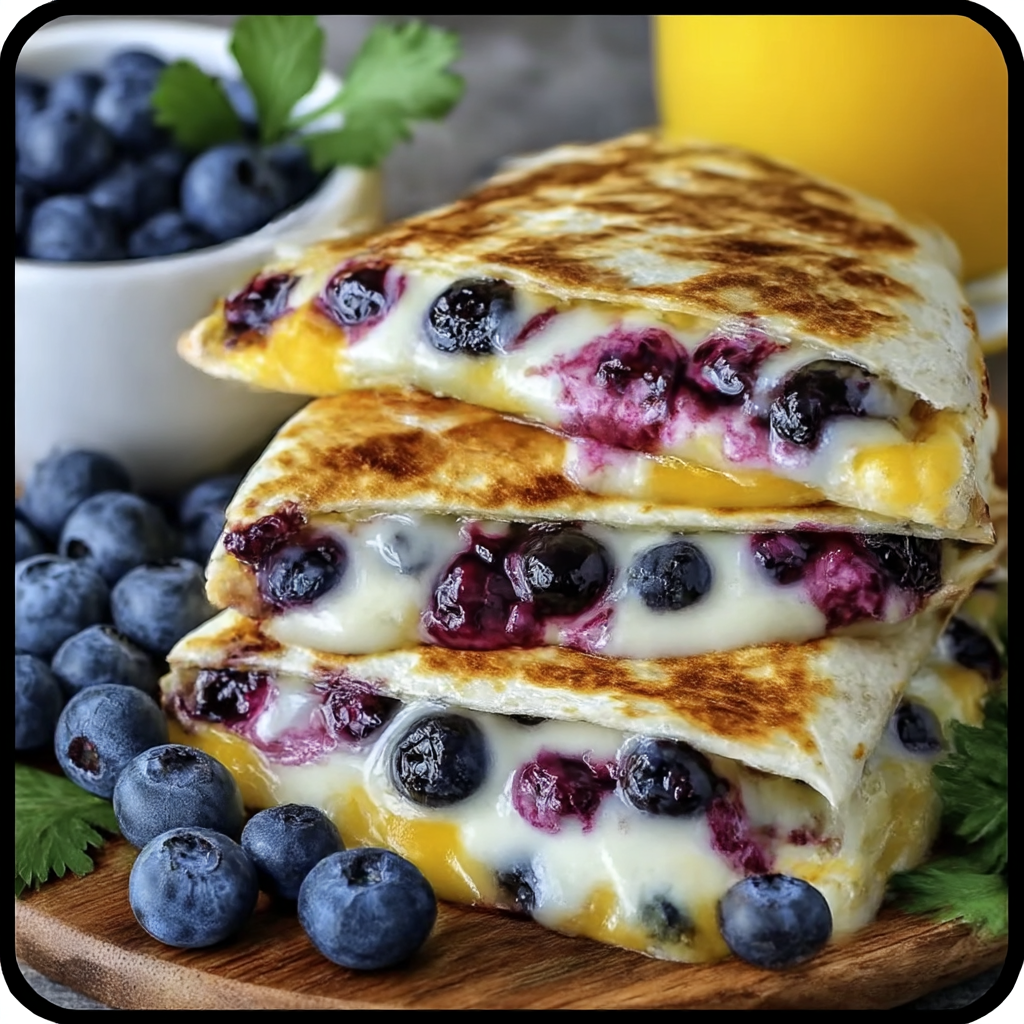
Warm tortilla filled with creamy sweetened cream cheese, fresh blueberries and a drizzle of honey—an easy, satisfying morning treat ready in minutes.
Leave a comment & rating below or tag @kitchenfunwithmysons on social media!
Enjoyed this recipe? Share it with friends and family, and don't forget to leave a review!
This recipe looks amazing! Can't wait to try it.
Comments are stored locally in your browser. Server comments are displayed alongside your local comments.
Quick and easy dinner ideas delivered to your inbox.